Kids Salt Crystals Experiment
By: Highlights Editorial
Have your young scientists explore the natural world by making their own tiny salt crystals with water and table salt. Using a magnifying glass makes a huge difference because it allows kids to get a better look at the salt crystals. And your budding scientists will love seeing the changes after evaporation.
What You'll Need
What to Do
-
Dissolve the salt in the glass of water.
-
Pour some of the salt water into a shallow glass bowl.
-
Put the bowl in a warm place so the water evaporates quickly.
-
Once all the water is gone, use a magnifying glass to look at the crystals.
How It Works
Table salt is a mineral called sodium chloride. (Minerals are substances that are formed naturally in the ground.) As the solvent (in this case, water) evaporates, the molecules of this mineral draw together into flat surfaces at right angles. That’s why each crystal looks square or rectangular, like a cube.
Extend the Fun
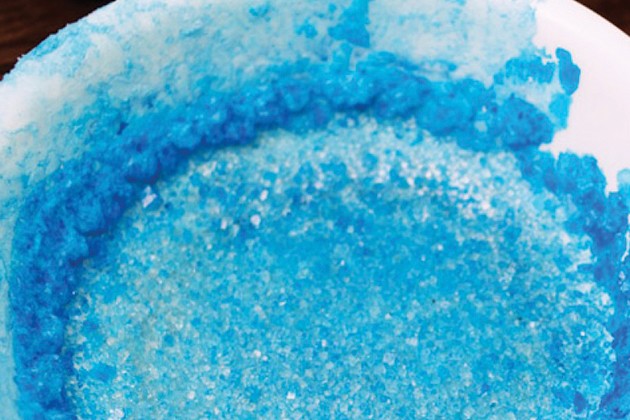
Younger kids: Play with the color of the crystals by adding food coloring. Help your child pour the water and salt mixture into a few shallow bowls and help add drops of food coloring to each bowl so they can make crystals of different colors. Count the drops of color together and talk about what happens when your child adds more color. After the water has evaporated and you are looking at the crystals together, talk about the colors and the shapes the crystals make.
Older kids: Scientists observe and document the results of their experiments. Give your child a clipboard so they can make notes. Encourage your child to record the time when they put the bowl in a warm place, how long it took for the water to evaporate and what they think the crystals will look like. Then have your child draw what they observe under the magnifying glass. Put the bowl of crystals and your child’s records together on display in the house so they can be proud of their scientific work.


